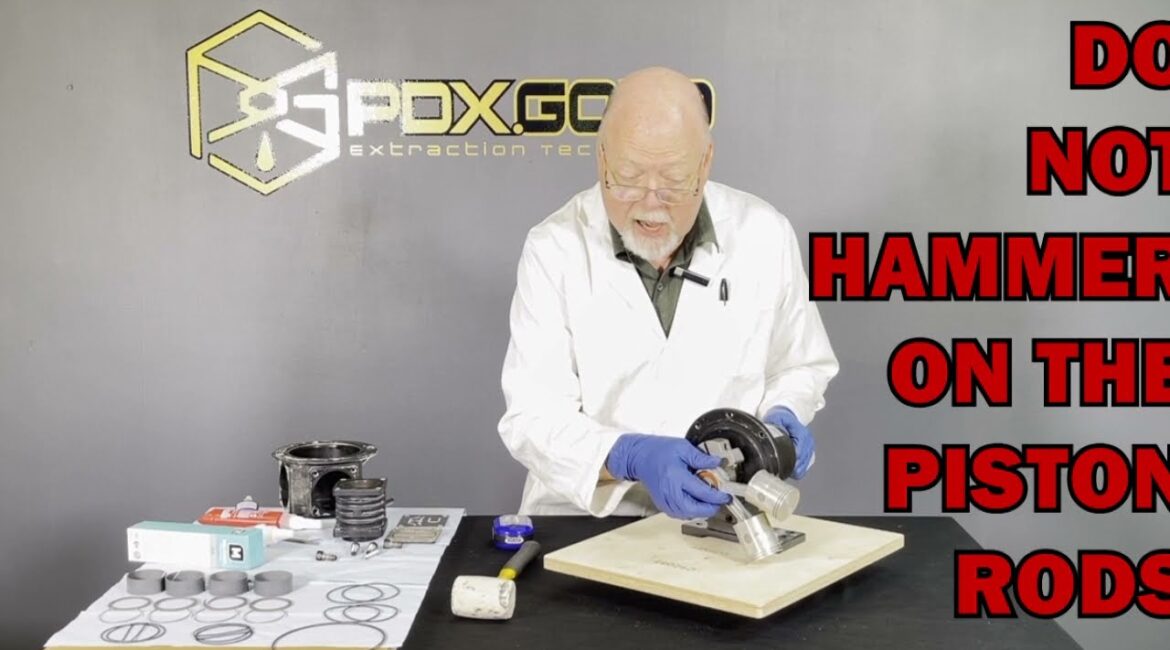
In Part 2 of this video series Phil, our VP and Lead Engineer, shows you step-by-step how to re-assemble a BRP-1 pump, the heart of all PDX.Gold recovery pumps.
Making sure that your solvent recovery system is in peak operating condition is extremely important for the sake of your end product quality, and for your extraction lab operations and efficiencies. In order to keep your recovery pump clean of any debris, we always *highly* recommend a CycloneDry to filter out any moisture or media that might risk contaminating your pump, as seen in Part 1 of this series.
Tools & Products Used:
– 100 – 200 in-lb Torque Wrench
– 5/16″ Hex Wrench
– Rubber/Rawhide Mallet
– Rubber Gloves
– Clean soft rags
– MolyKote 111 Valve Lubricant & Sealant (food safe)
– Loctite 567
– Loctite 510 Flange Sealant
Timestamp:
00:10 intro / cleaning recap & notice
01:55 product overview
02:35 crank assembly / piston rods
06:13 housing ( the o-ring is tricky!)
14:45 cylinder & cylinder head
21:30 cylinder head close-up
23:52 placing cylinder on to piston rod
27:50 cylinder head assembly & placement
36:40 end of side one
36:50 start to assemble side two
46:25 thoughts on pump appearance & torque bolts down
48:20 Done!
Connect with us!
https://www.instagram.com/pdx.gold/
https://www.facebook.com/pdxgold
Request a quote today!
https://www.pdx.gold/request-a-quote
source